Organized by: Justin "J'ortsa" Thibeault
Makers Space is a View series about interviewing the makers, crafters, and artificers of the Realms and sharing their creations with everyone! I know I take pride in my work so I know you all must as well. That being said, how often do you get to humbly (or not so humbly) brag about your creations, so this is your outlet! Tell me everything!!
1. What is your OOC name?
Amber Fox
2. What is your character's name?
Lady Tarnisha of Darkvale
3. What crafting mediums do you typically work in?
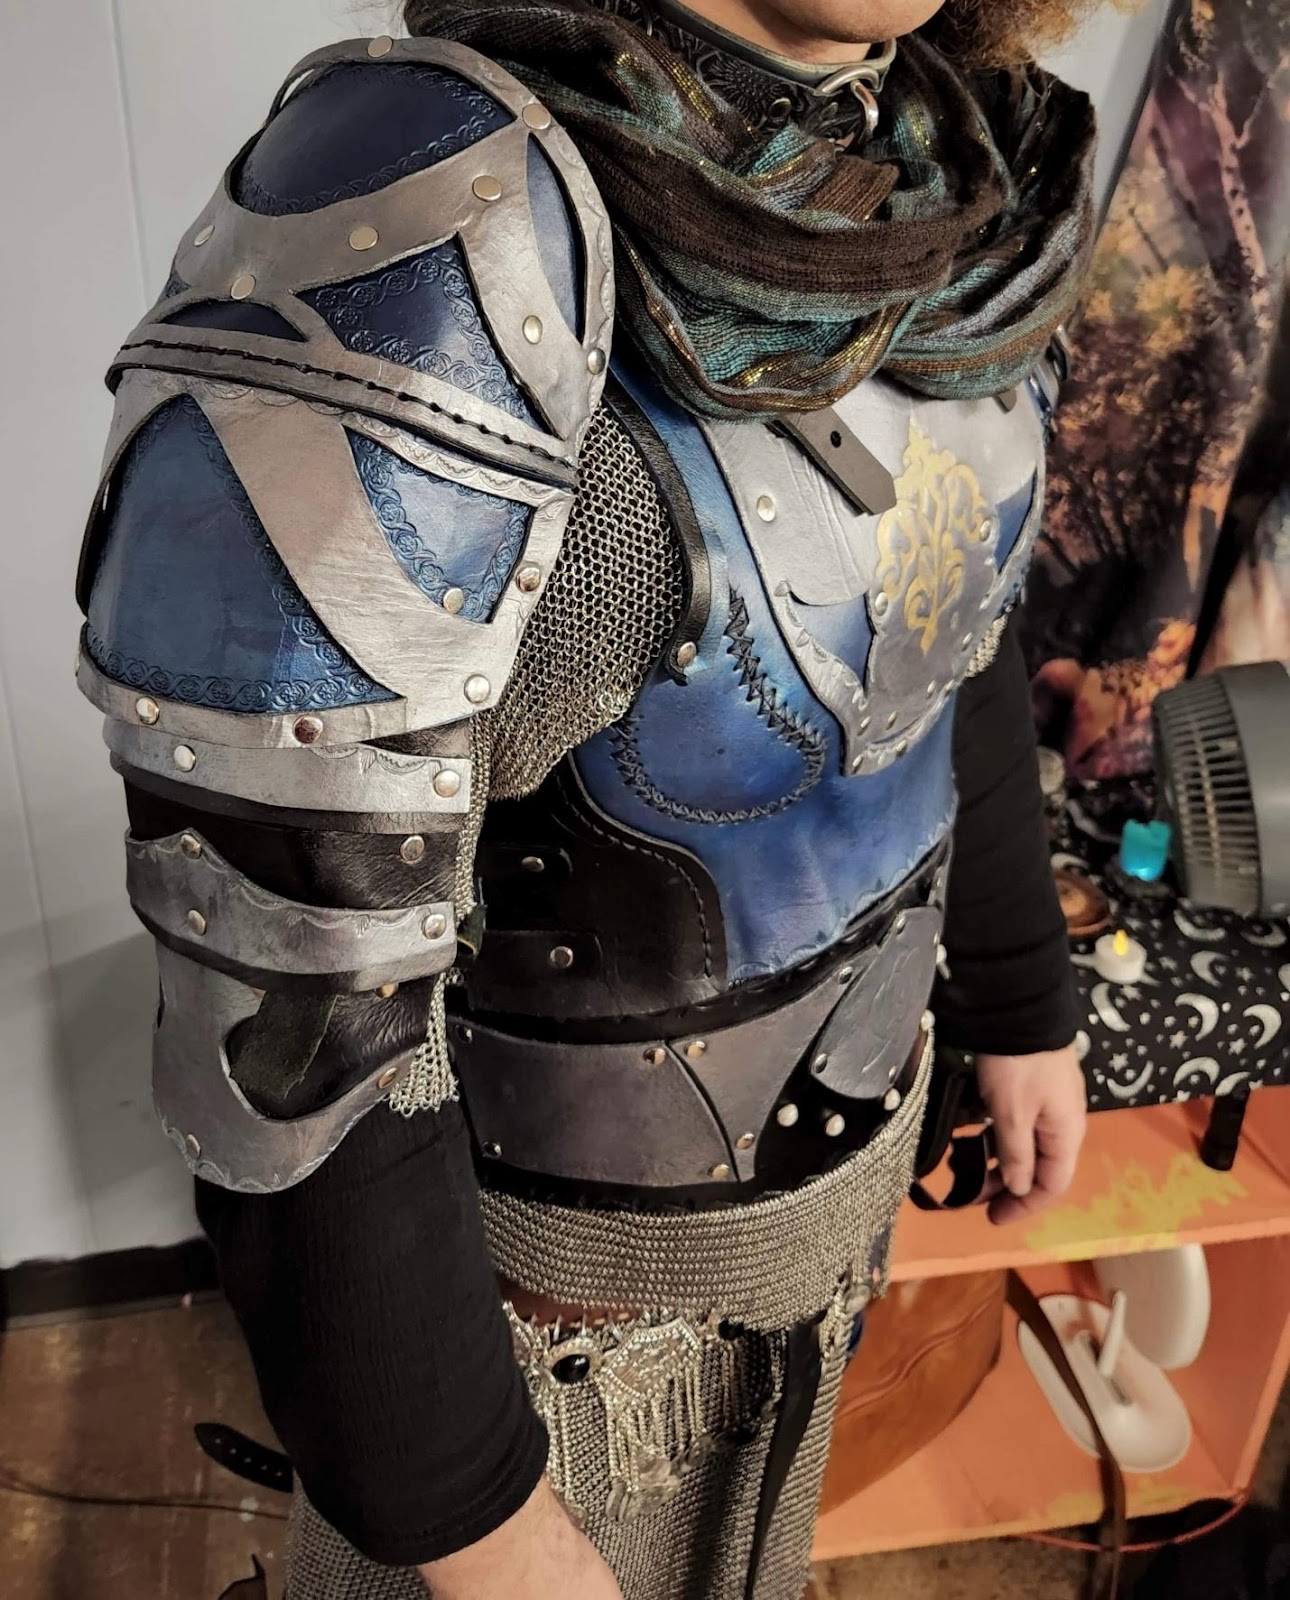
Fabric, trim, floss, beads & pearls // Sewing, quilting, and some jewelry making and embroidery.
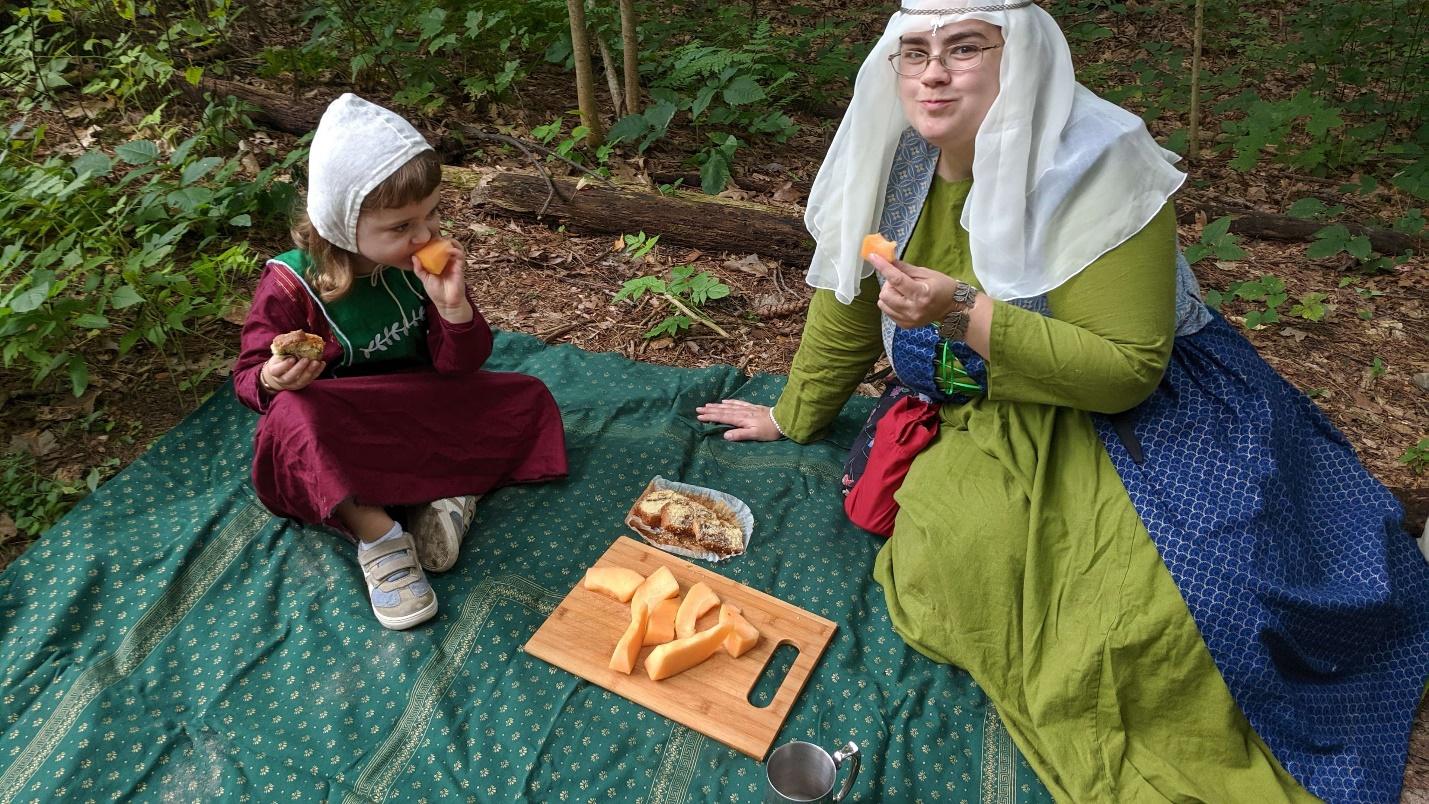
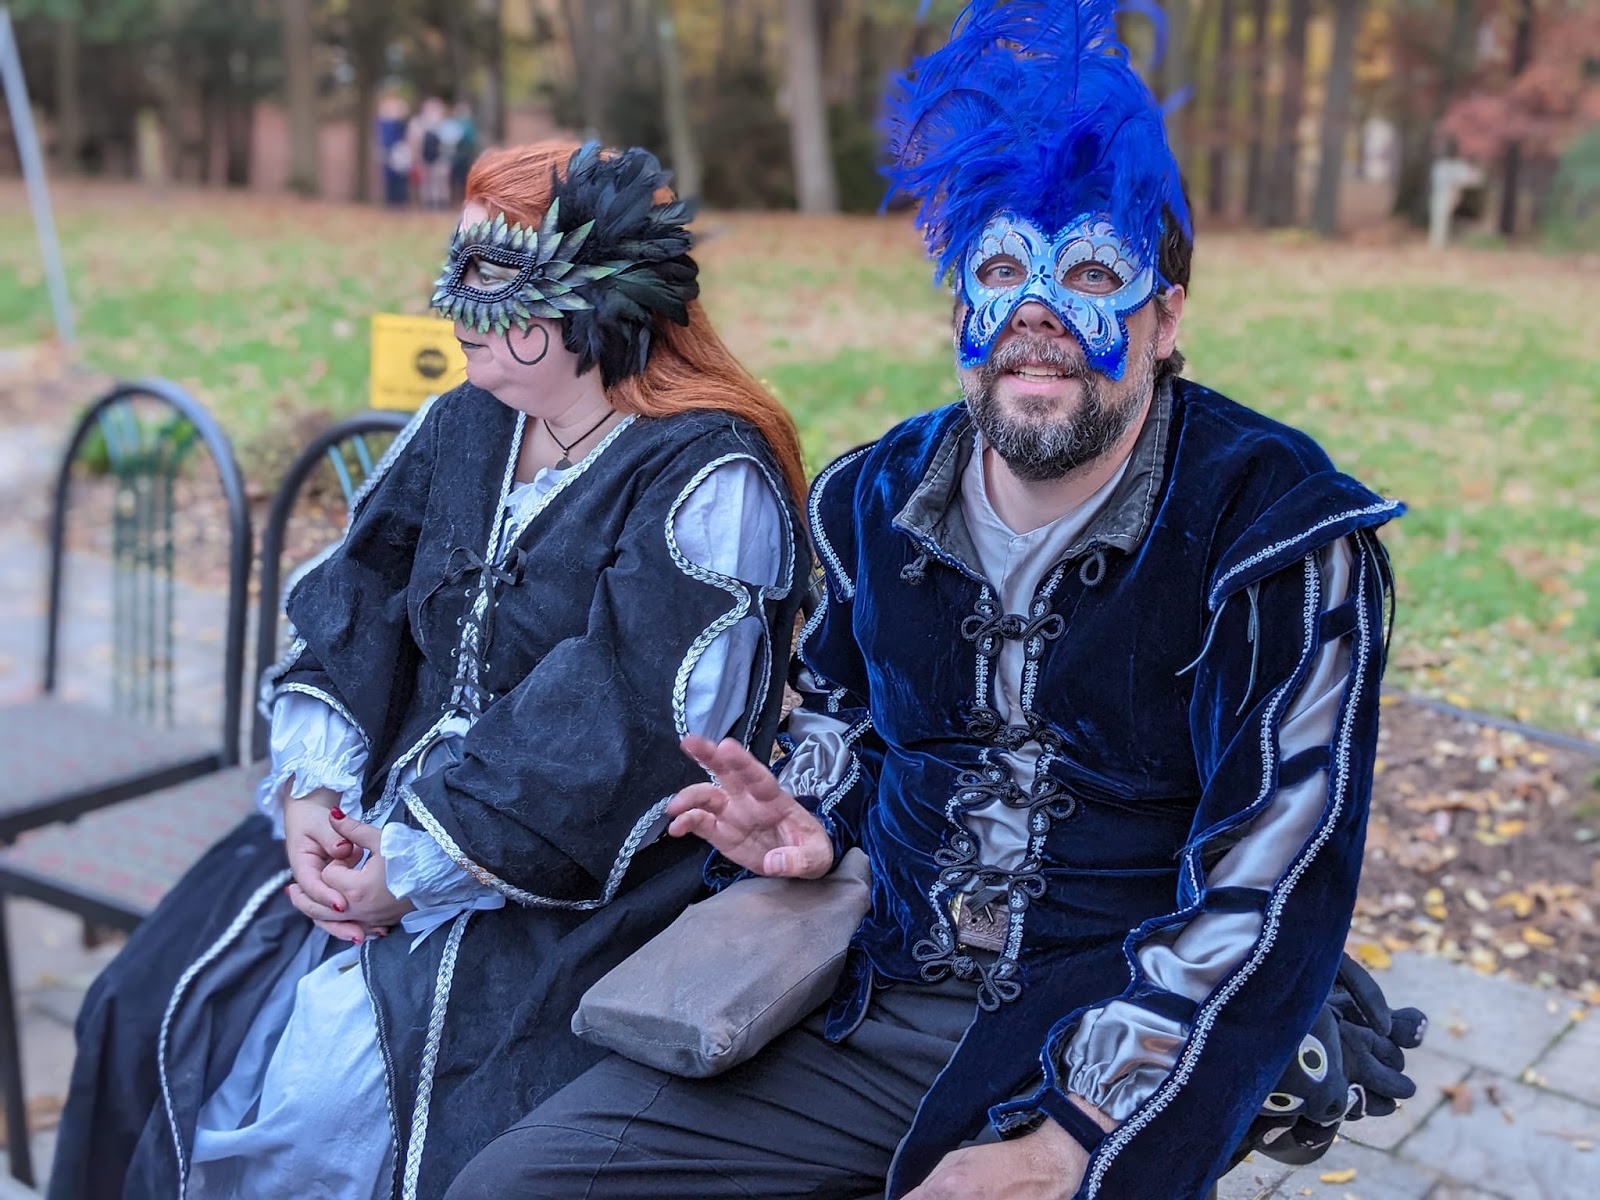
Photo provided by Amber
4. What is your favorite medium to work with? Why is it your favorite?
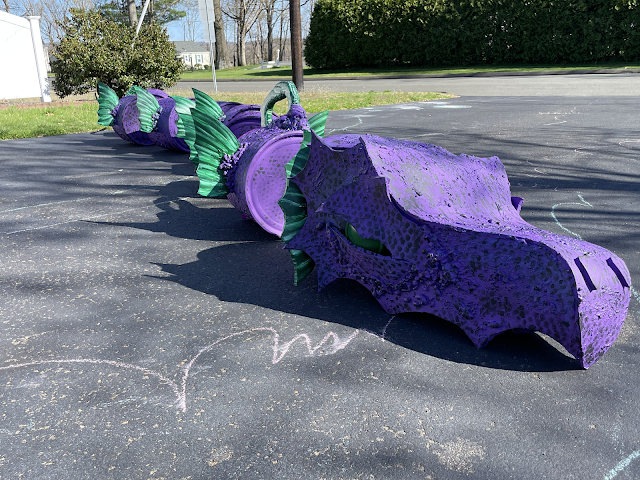
I love Garb-making! What is a character without clothing? Destined to land on an IRL Sex-offender registry, that's what! I love giving myself access to the Clothing befitting my noble station- no way I could afford that IRL and off the shelf. I love helping others elevate their look, Christmas trim snagged 2 Januarys ago makes a huge difference. I love making my cute kid even more adorable with fancy garb or a custom Halloween costume. I love transforming a clearance tablecloth into a beautiful gown with sweeping sleeves. I love the challenge of researching a new historic garment and making it come to life.
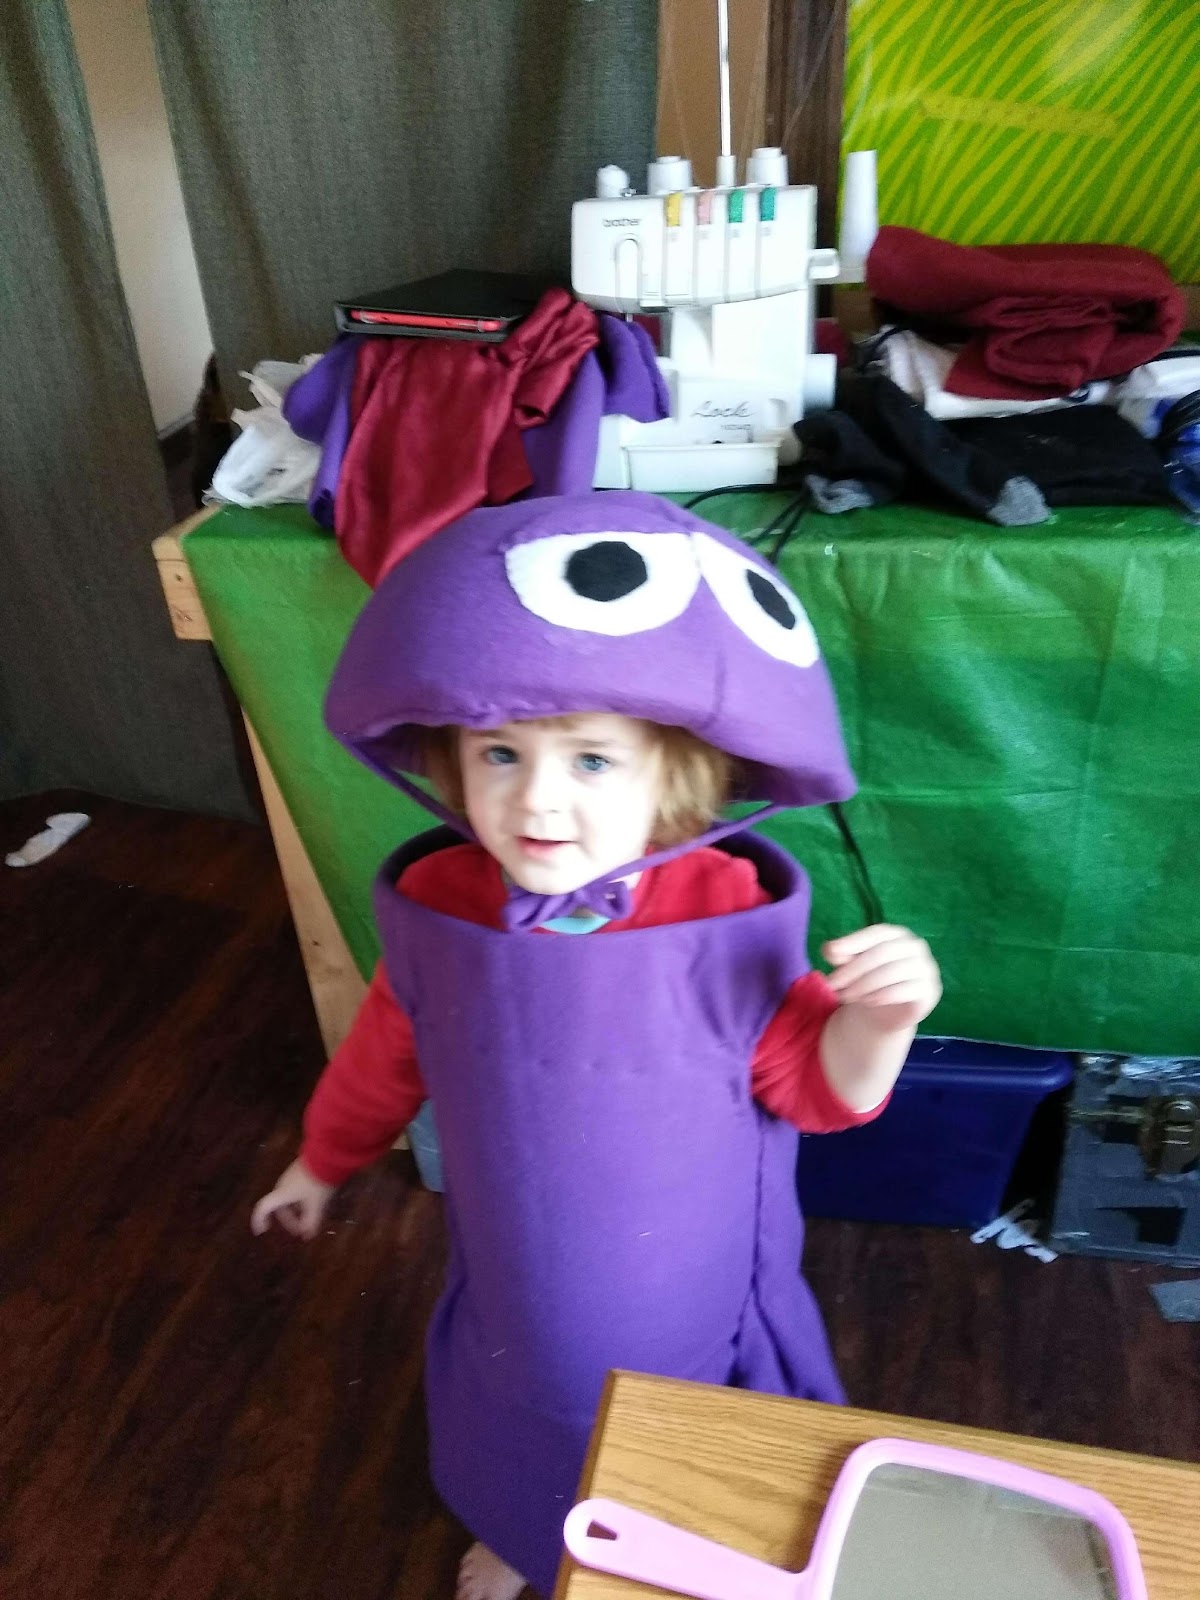
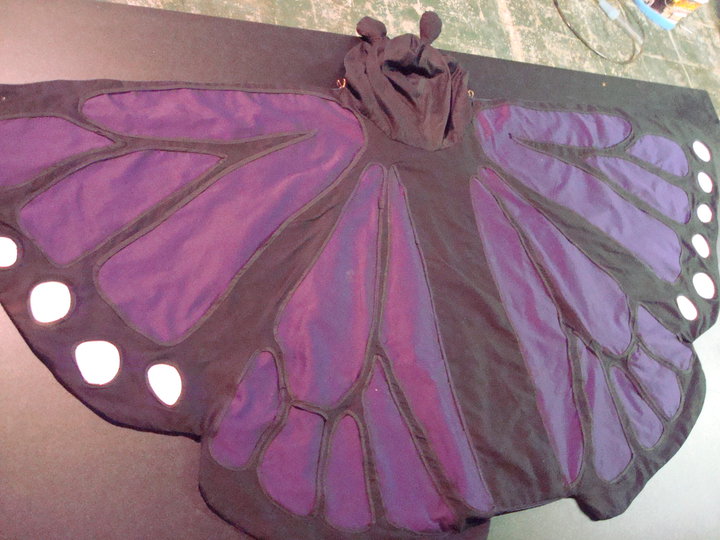
Photo provided by Amber
5. What is the most challenging part of working with this medium for you? How did you overcome it?
My first major challenge was understanding how to sew the middle seam of pants-- that is some advanced 3-D geometric manipulation! (Or, it is for me) I needed to look it up and carefully follow instructions on how to arrange the 2 leg-pieces each time --just Trust the instructions. That gave me How. After a while of watching How in action, understanding the Why started to grow. The same was true of how curved pieces come together and how to tweak them in the way that altered the shape the way I wanted. So much seam ripping on many different practice pieces.
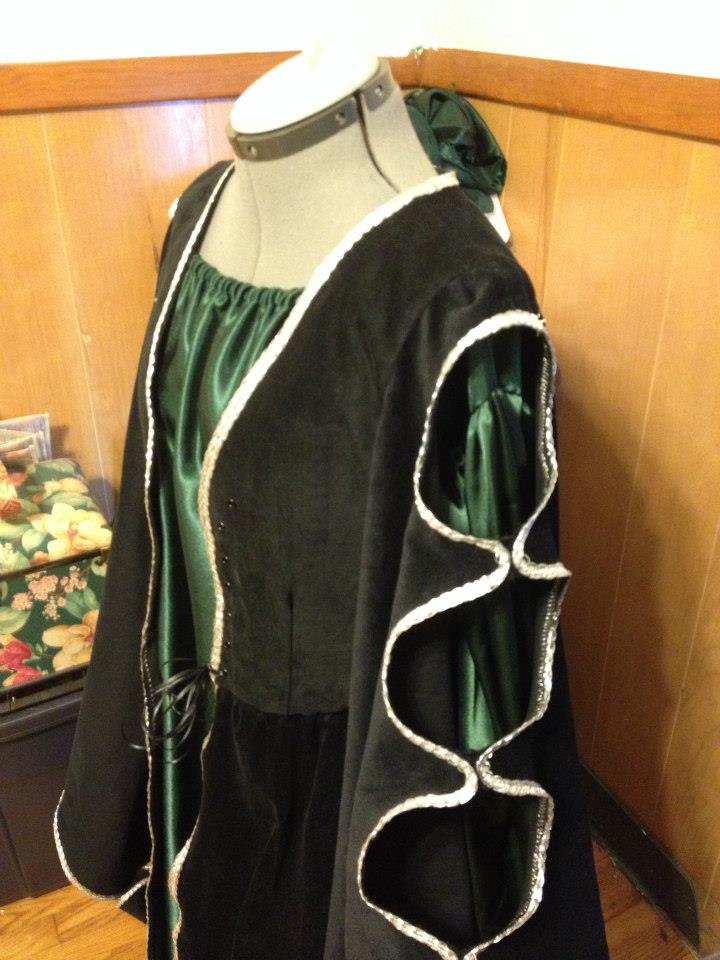
6. What is the piece you are most proud of? Why?
My wedding dress-- a white silk Hoop-skirted dress with green trim. I'd practiced on several similar dresses, or parts of dresses, before and the one for the wedding came out great. The silk was unforgiving of re-stitching. The corded trim couldn't do what my design asked it too, but I overcame the challenges. Everything was Just right for my Special Day.
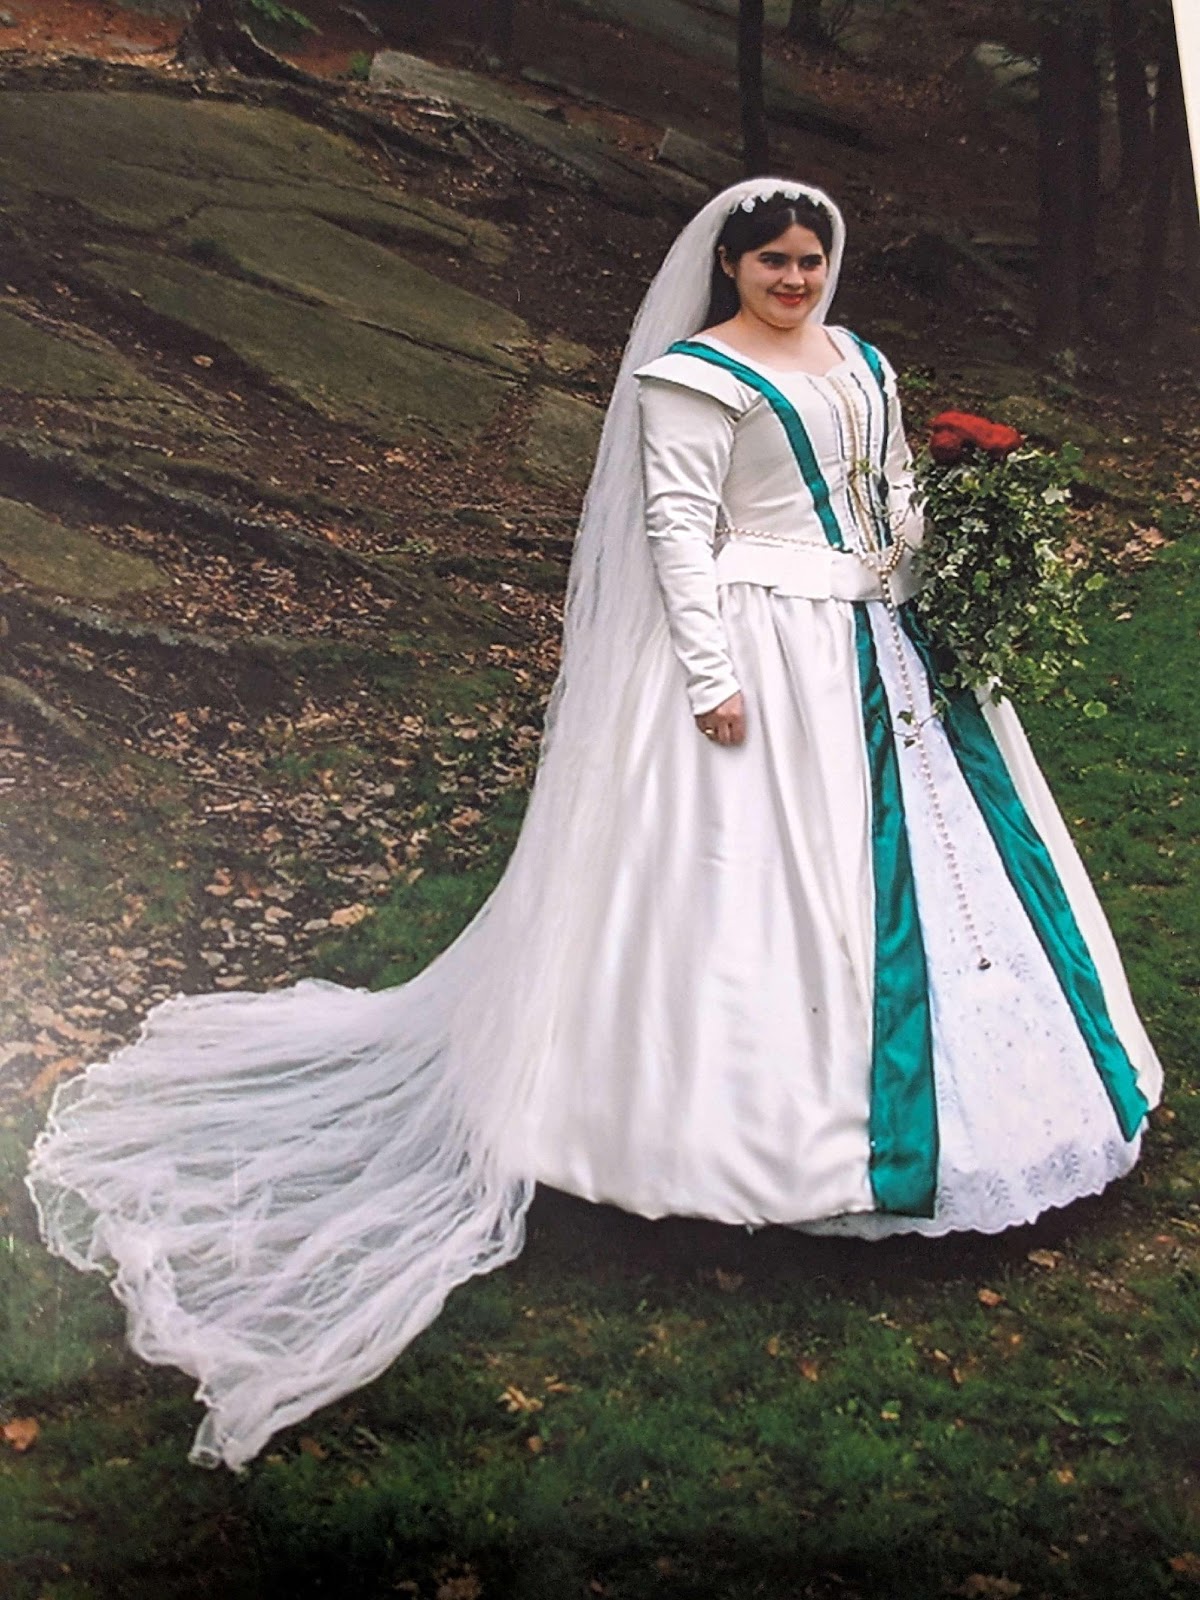
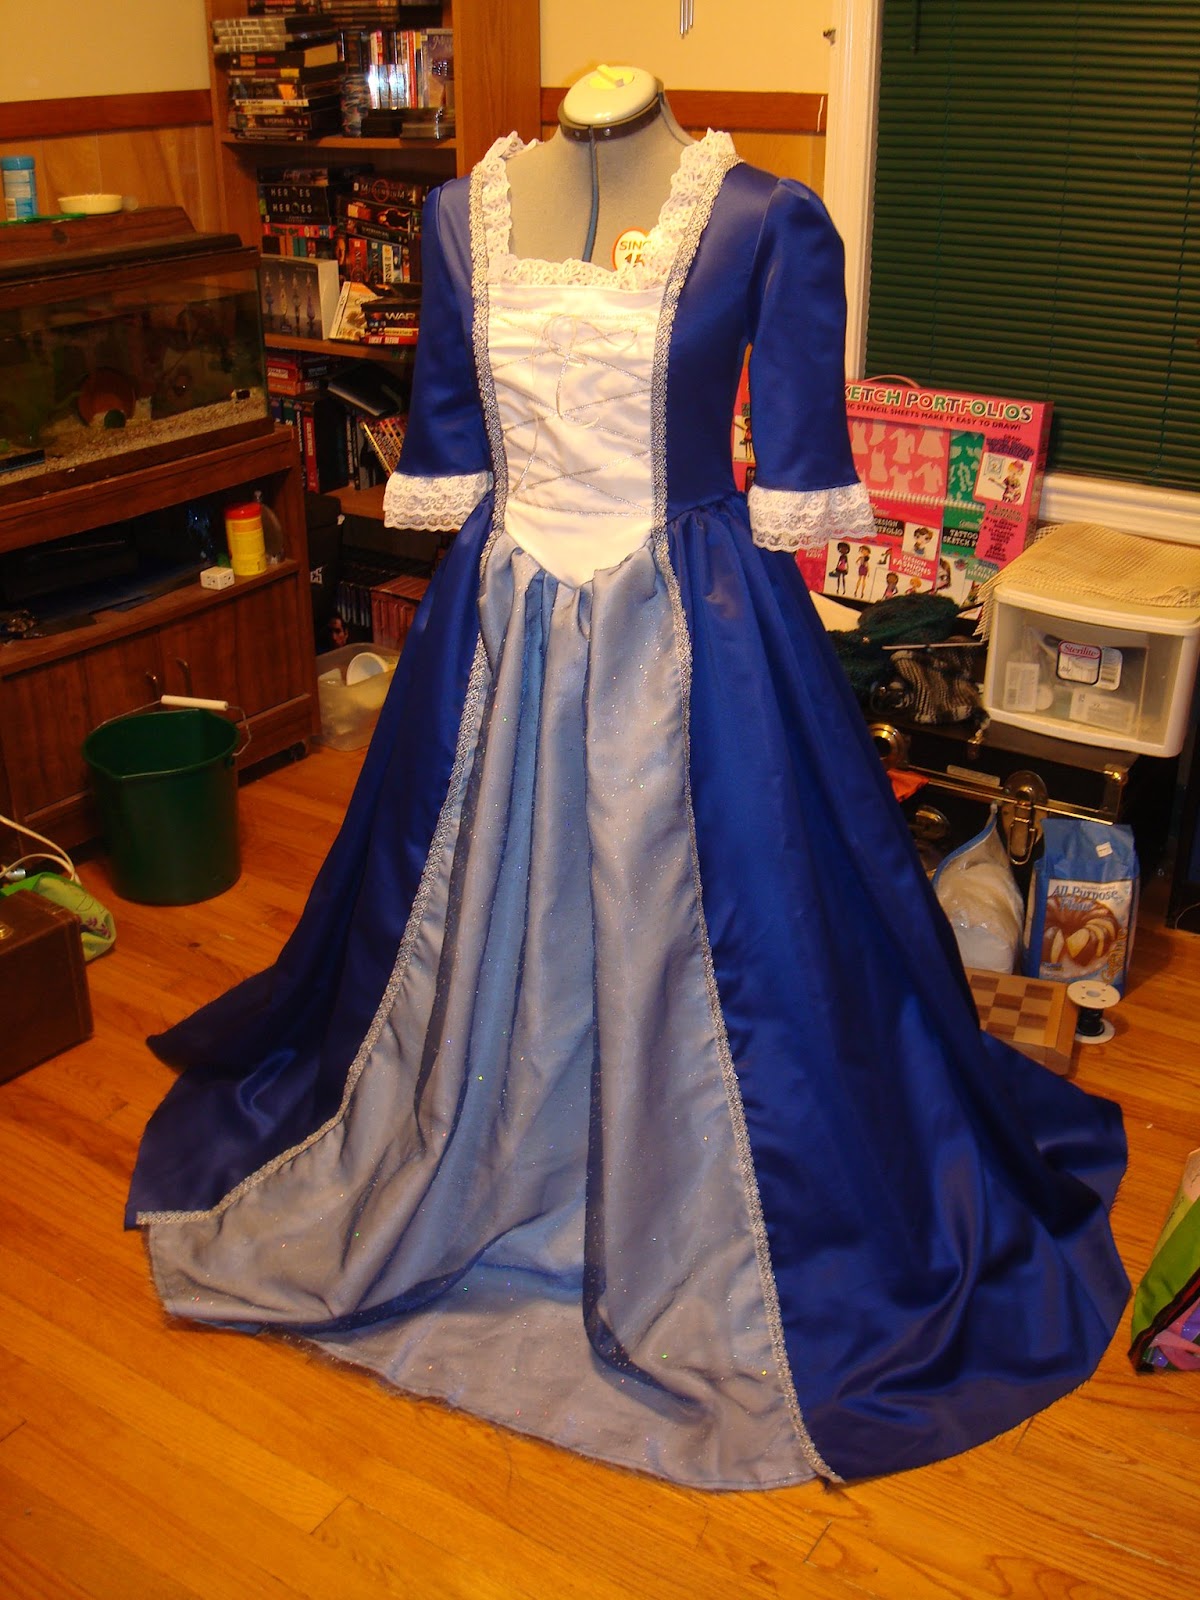
Photo provided by Amber
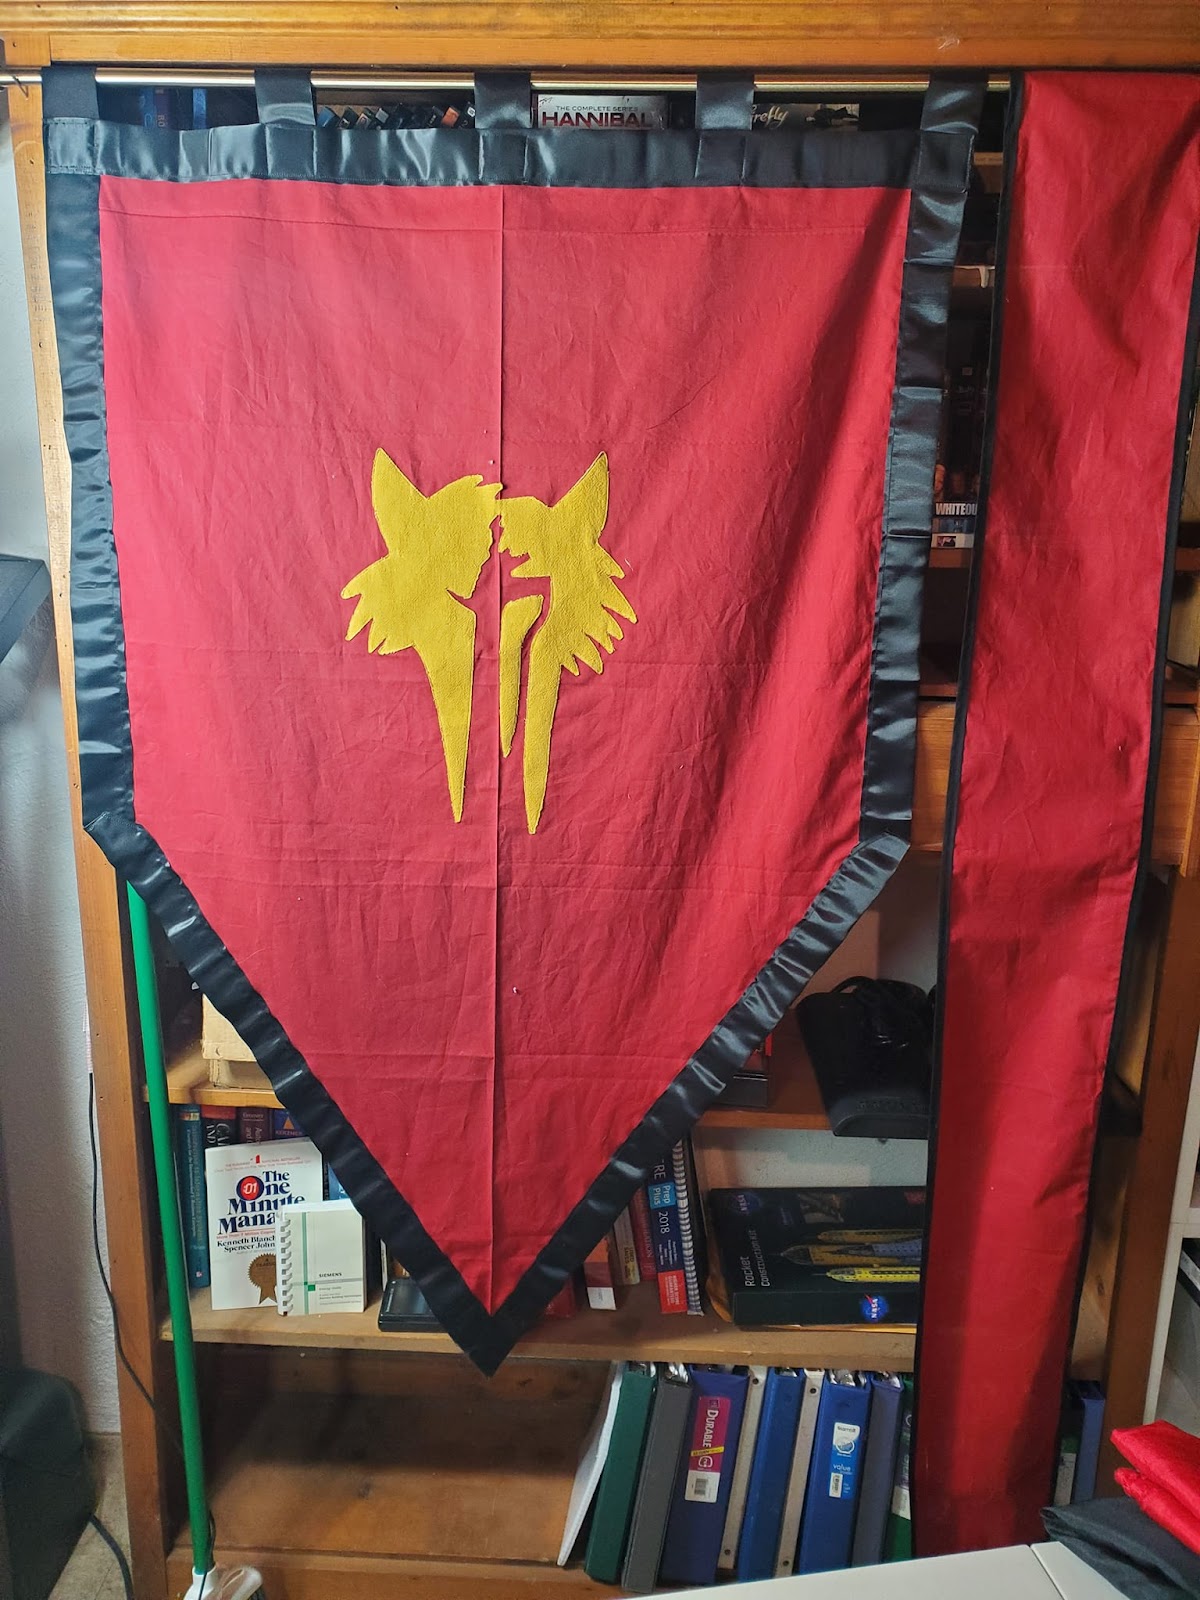
7. What is the piece you have done most recently that you are allowed to share? Tell us about it!
I just delivered 15 servant sashes to Lord Aeston at FoLev. Before that I was thrilled to have been allowed to do the repair work upon one of the historic Darkvale tabards. I also used strung pearls to add Darkvale heraldry to the dress I wore to B&W this year.
8. What is the earliest piece you made? How long ago did you make it?
My first no-sew garb was in late HS. A satin pillowcase wrapped and folded around a Legal sized Manilla folder rolled into a cone, *stapled* together with a polyester scarf coming out of the top to make a "princess hat" (a Hollywood style Hennin). There was a matching bedsheet I tied with a rope and secured with safety pins into a empire waisted skirt, over leggings and a Cami, then with a lacy topped, sheer-skirted overdress I found at a flea market. I was ready for the Renn faire! My first Guided project was my red-lined green cloak in Nov of '97. I went to W.Mass for Thxgiving break with an older Realmsies and we worked on it over the weekend. My first solo-ish project was a set of 4 side-lacing dresses due for the summer of '00. My favorite of the batch (Half blue, half a warm color-shifting medium brown) was turned into a sideless surcoat and donated to the Peacock table for re-homing 2 years ago.
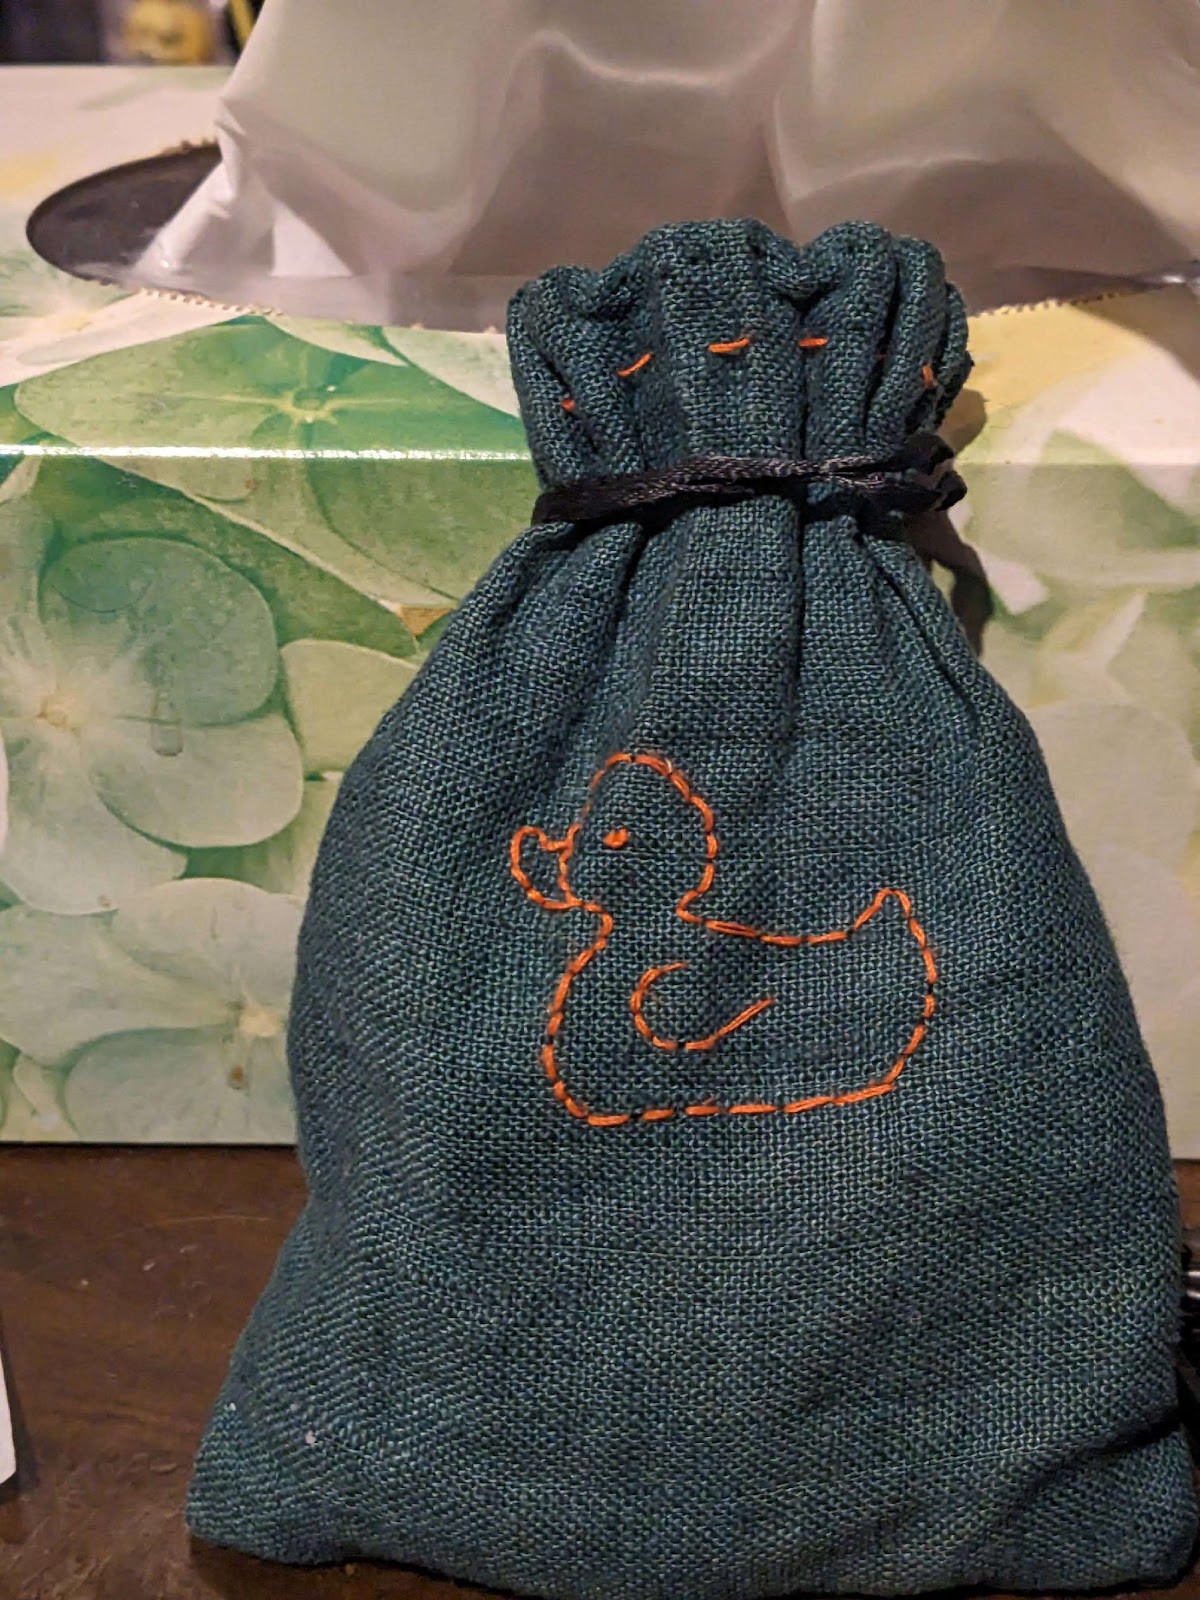
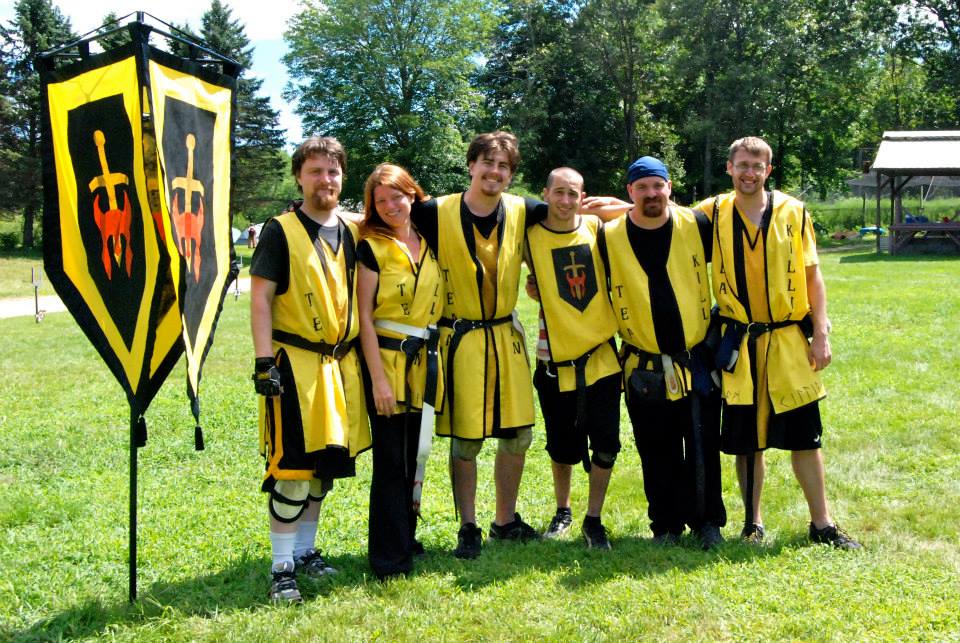
Photo provided by Amber
9. What medium do you wish to learn more about or have been interested in?
I want to do small metal working. Chasing and Repousse' (metal engraving from both sides) making belt findings, maybe Pewter casting. Really kick my custom jewelry-making up a notch.
10. What advice do you have for the rest of the community when it comes to crafting and making?
Dive right in! Give it a try. Don't be afraid of using free or cheap materials. If you can't get access to a Sewing Machine, a plain needle and thread has worked for millennium.

Photo provided by Amber
11. What inspires you to do what you do?
The results, The intellectual challenge. Or Love for the community, via yards and yards of seams.
12. Is there anything else you really wanna share with us? Any upcoming projects, etc.?
I have so many would-be sewing projects in my stash, it's hard to find the time to bring them to life. But I think the one that will win the next slot is a 14th century open hood. However, those beaded place mats have been begging to go upon a fancy hoop skirt for a while. --- I have tried dozens of different crafts - furniture making, narrow weaving, chain maille knitting, Japanese cord making. I dabbled in leatherworking and basket weaving. Each gives me options for overcoming future challenges, even if I can't see how right now. Even if I didn't love that craft forever, it was still worth learning.
If you have any questions or would like to be inter
viewed, please send a DM to Justin Thibeault (spartan_a239 on Discord)